


There are several different ways that designs can be engraved on knife blades. I will be exploring and comparing some of these methods. There are a few that I have experience with, and others that I've only read, seen diy videos, or talked to someone about.
- Fiber laser etching
- Fiber laser deep engraving
- Fiber laser annealing - This is what I use for my KRVR logo
- Laser marking with ceramic compound
- Electroetching (Electrolytic etching)
- Chemical etching
1. Fiber Laser Etching

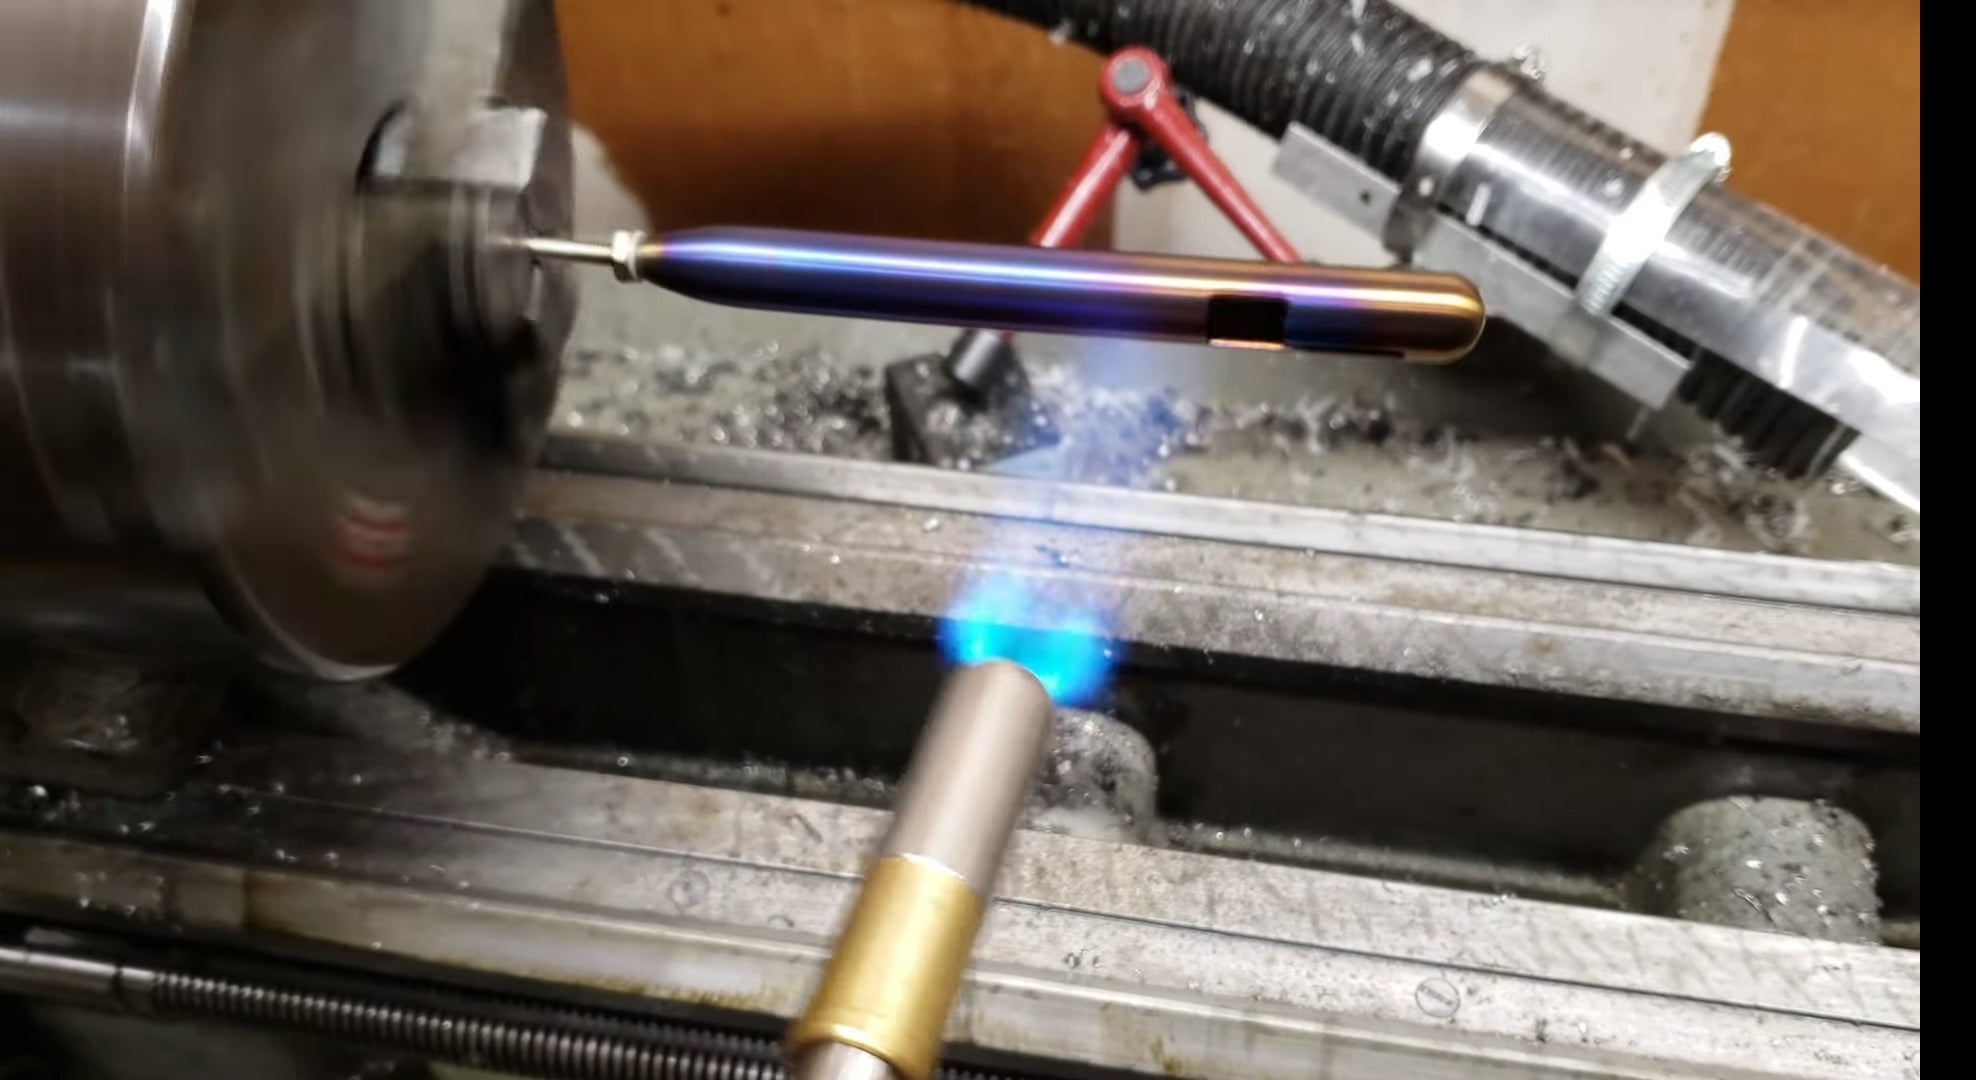
Fiber laser etching is something that I'm very familiar with, having done thousands of parts for customers using this process. Fiber lasers are expensive, so unless you plan to do many parts, it will be difficult to recoup the investment.
Etching steel or stainless steel with a fiber laser can give several different results. You can get a range of marks from a dark mark to a light silver mark. If your goal is high contrast, dark marks are good on uncoated metals, and light silver marks are good on coated metals (like black oxide, painted, powdercoated). I've never managed to achieve a truly black etched mark on steel or stainless steel. It's always a very dark brown.
The MOPA type fiber lasers have the ability to create a wide variety of colors on stainless steel by adjusting the settings. In practice I've heard that this is very tricky. Not only is it difficult to get the settings right, but variables in the stainless steel itself can give different results between parts.
Fiber laser etching is generally pretty fast. The marking speed depends on how dark you want the mark, how deep you want it, and how large the engraving surface area is.
The one thing I dislike about dark etched marks is that they create a rough surface texture. It's like an oxidation effect, and if you are trying to make a quick mark in 1-2 passes, it can even be raised above the surface.
Here's an interesting article about laser engraving metals: http://www.mmscience.eu/content/file/MM_Science_201410.pdf
Watch these videos of the success I've had with using our Rofin 20W fiber laser for laser etching stainless, damascus, and carbon steel knife blades.
4. Laser Marking with a Ceramic Compound
This is one I've only done a few times, but some people swear by it. Mostly I've sworn at it, because getting the settings right can be tricky. The basics of this are using a CO2 (or fiber laser) to melt a ceramic compound and bind it to the metal surface.
There are several different options available for ceramic metal marking. Here's a thourough review of those options by Toolmetrix.
CRC Dry Moly Lube:This a lubricant, and from what I understand a pain to work with, and doesn't give the best results.
Cermark LMM-6000:This is what I've used in the past.
Cermark LMM14:Used to be sold under the Thermark brand
LaserBond 100:Seems to give the best results
Enduramark:
The conclusion from Toolmetrix testing was that LaserBond 100 gave generally the best and darkest marks.
Cermark Tape:This one was not reviewed by Toolmetrix. It comes in tape form and is stuck to the surface. Could be alot less messy and more consisent marking than the spray.
In addition, there are a few different colors available, but haven't found much info on those.
Using Cermark LMM-6000
There's conflicting information on the Cermark website about the recommended settings
- This document recommends 1000 dpi resolutionThese are the recommended settings for Cermark LMM-6000
- Here'sanother document that uses % speed and 500 DPI resolution
The downside to all of these ceramics is that they can be scraped or sanded off. If applied correctly, it would take a lot of effort to remove them, but it can be done.
5. ElectroEtching
Electroetching or electrolytic etching can be done as easily as using an electrical current and salt water. To make a nice design, you'll need to mask the surface so that the electrical current only affects the exposed area.
CAUTION: The use of salt, Sodium Chloride (NaCl), for electrolytic etching produces toxic chemicals and should be done with protection and proper ventilation. Sodium and Chlorine gas are created during the process, and other toxic chemicals are formed. There are more suitable electrolytes that do not off gas and last much longer.
Manual Salt Water Etching
Manual salt water etching is performed by rubbing an eletrically charged salt water infused fabric against the metal surface that you want to etch.Here's a good explanation on how to do this for knife logos.
A Q-tip dipped in saltwater is commonly used, but other things like small sponges are even more effective ("wide base of a foam makeup sponge...you know, the little wedgy kind")
What can be used as a mask (resist)
- The mask can be made from vinyl for a detailed design.
-
The mask can also be made from screenprinting screen
- "I've had good luck using the PhotoEZ silk screen material to make my stencils. They arent adhesive but they work fine for me just taping them in place. Good thing about them is that being a silk screen material you can make any design .... and they are reusable....hi resolution is best for fine lines like on a logo."
- Sharpie permenant marker can be used as etchant resistant pen. Anything that you mark with sharpie won't get etched.
- Here are some other ideas for resist
ElectroEtching in a Solution
Comments about the solution to use from this video:
I am a metallurgist, i have tried many solutions for electro-etching process. However the best results with smooth finish are achieved by using supersaturated solution of sodium Chloride and 5 volts. I think addition of vinegar and high voltage is not suitable, by increasing reaction rate and consequently it produces pitting"
"George Viaud9 months ago (edited)
Try using Ferrous Sulfate in (250g / Liter distilled water) instead of salt. You will get zero sludge / scum. Also try dropping your voltage to somewhere under 5V Use a stainless-steel or Titanium (expensive) cathode if you can. SS or Ti mesh works great. Keep the work piece (anode) an even distance from the cathode so it's exposed evenly to the ion/electron flux. Lower voltage = less / no bubbles = smooooth. Just takes a long time... who cares though =) Keep posting! p.s. be sure to use a proper grade of ferrous sulfate such as that sold by alpha chemicals - it's cheap and you can reuse it FOREVER (don't throw it away!) Just be sure to only etch steel in and it will remain CLEAN - just occasionally filter out the excess iron / carbon buildup."


Leave a comment (all fields required)